

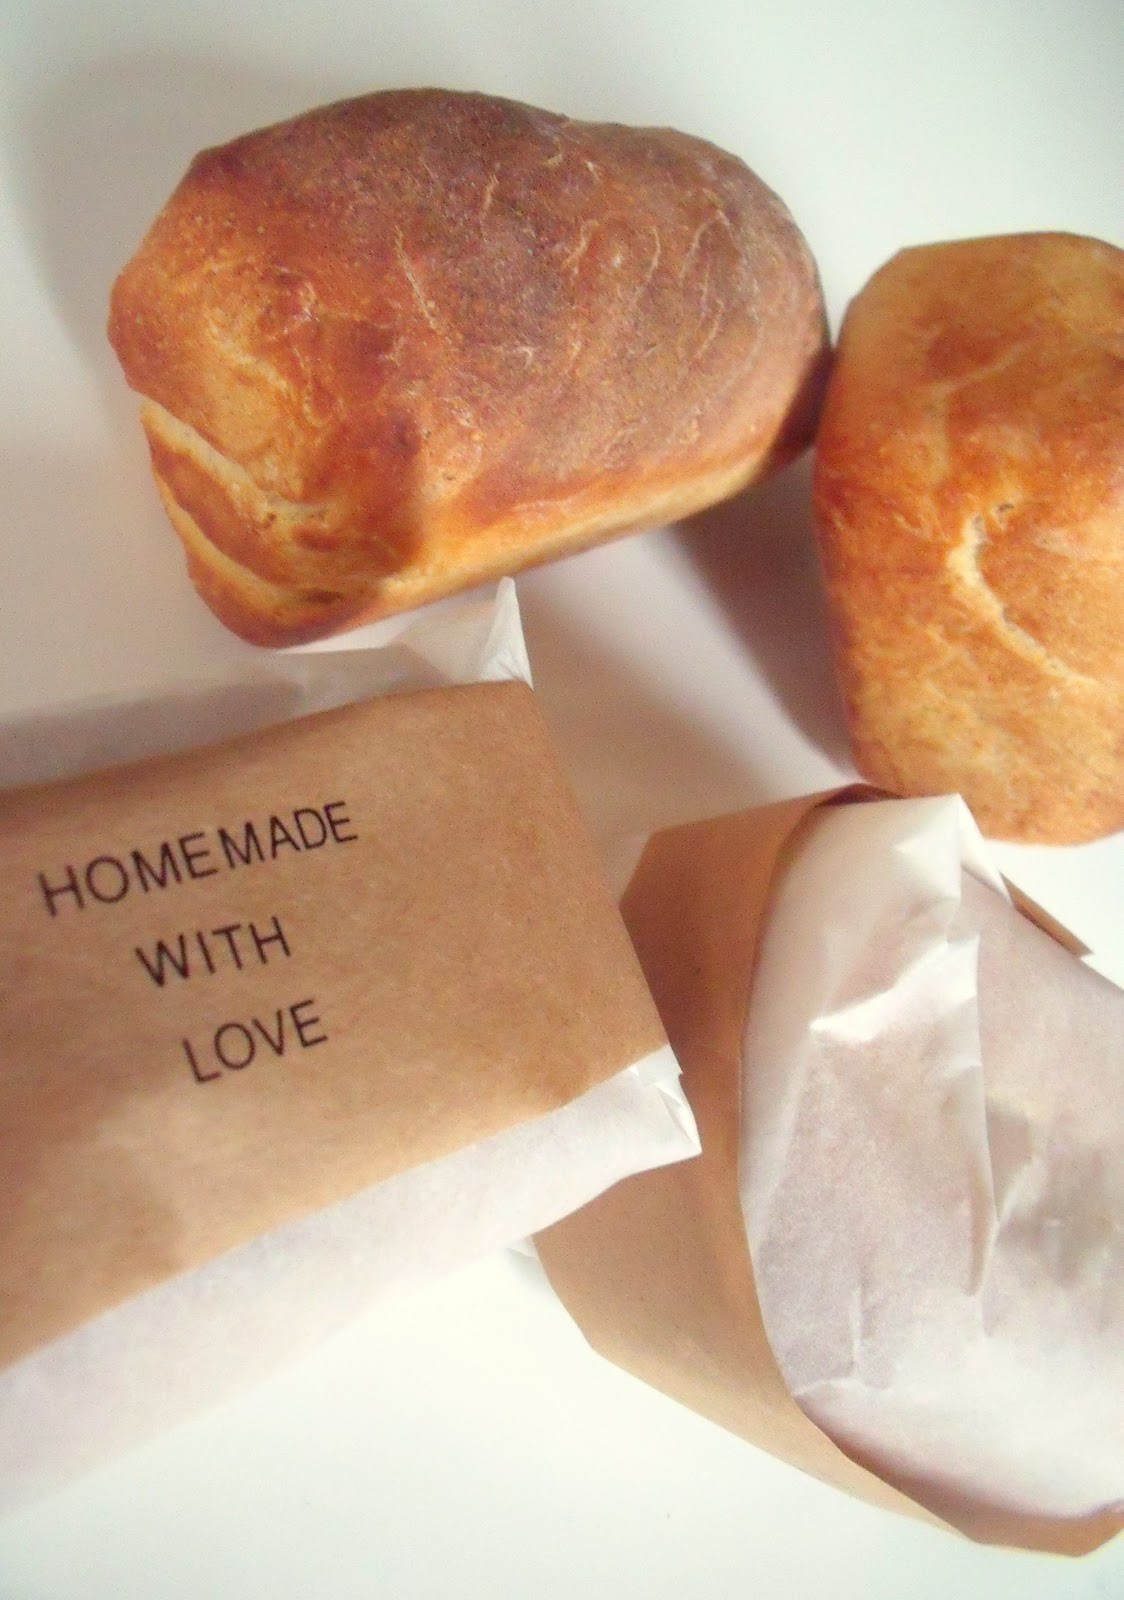
I always try to remember that old adage to never show up empty handed, and whenever my friends and I get together I usually bring along something homebaked and sugary. But with every foodie magazine predict the demise of the cupcake, today I decided to go with a savoury option. Of course, food en miniature is always de rigeur in this house so I made a batch of mini-loaves.

I read a quote somewhere recently that bread is just a vessel for good butter, but I cannot disagree more. Good bread is the perfect food. Thick sliced, still warm, buttery, jam spread. I honestly don't think you can beat it. Baking bread is the most fun and while many people choose to hand over their baking to the impersonal breadmachine, handbaked is always going to win favour.
I've picked up a few little tricks throughout my bread adventures, so I thought I would share my technique:
There are not many ingredients to make a good loaf, so ensure you get the best. I have tried baking with plain flour, self raising, wholemeal, extra strong, stoneground and so on and so on. I find I always come back to Hovis Premium Bread Flour, if you can't find the brand you need something with a lot of gluten so look for an extra strong flour. I have never had any success with wholemeal baking, not even in cakes, but if you want to try I would suggest using a half wholemeal, half white bread flour mix
Yeast: many experts will extoll the virtues of fresh yeast, but I find the thought of it quite scary. I buy little sachets of dried yeast, usually about 7g each (but don't use all the sachet or you will taste it)
Sugar & salt - about a tablespoon of each. Sea salt, of course, and don't be tempted to skimp. Sugar might seem like an odd choice, but when I tell you it is the sugar that gives you a nice crust, you won't doubt it. I use caster sugar because I always have some in the kitchen, but golden caster sugar gives a nicer colour

1. Pre-heat the oven to the lowest setting, usually about 110. Sift your flour into an ovenproof bowl and allow to warm for about 10 minutes in the oven. Trust me, you don't want to skip this step.
2. Seive your flour again, with the sugar and yeast -holding the seive up high encorporates plenty of air and gives a lovely light texture. Use your fingers to lift the flour and allow to fall back in the bowl, this is easier to do than type about. Add the salt last - this is because salt can kill the yeast, which will stop your bread rising
3. Make a well in the centre of your bowl and begin pouring in 425ml hand hot water - by hand hot I mean warm enough to comfortably hold your hand in. Not too warm or you'll kill your yeast. Go slow with your pouring, you don't want a wet dough
4. Stir together with a wooden spoon, I usually use my hands here, but the high gluten content in the flour makes it very sticky. Keep mixing until it is all together, then tip out onto a flat surface (you won't necessarily need to flour the surface, adding too much flour will toughen your dough)
5. Knead for 5-8 minutes. Kneading is an odd process, you can watch videos online if you need to. Bascially you use the heel of your hand to push the dough from the centre out, then fold that bit over on itself and bring it back into the centre. Turn your dough slightly and repeat all the way around. It helps to think of the kneading process at this stage as stretching and developing the gluten
6. When your dough is springy and elastic-y it should blister as you stretch it it is ready for proving. Place into your now clean mixing bowl and cover with lightly oiled cling film (the oil is to stop your dough sticking), I usually drape a tea towel over the top too, to keep it warm - place in a warmish place for 2 hours or prove overnight in the fridge. Proving, by the way, is to prove your yeast is still alive, or so I am told.
7. By now your dough should have doubled in size and be full of air. Tip out onto a surface, and 'knock back' - literally punch the air out of it. Knead for another two minutes, this time focussing on getting air into your dough. Place your slightly deflated dough into your well buttered tins or pat into a boule shape, don't worry about perfectly meeting the edges, if you mess around too much you will lose all that lovely air you just worked so hard to incorporate. Place in an oiled polythene bag and allow to sit at room temperature for around an hour
8. Your dough should have risen again, at least as high as the top of your tins. Slash the top with a sharp knife (this is purely decorative as far as I am concerned) and sprinkle with flour. Place in the centre of a pre-heated 230 oven and bake for around 30 mins for a 1lb tin, 30-45 mins for a 2lb tin and 28 mins for those mini tins. If you like a very crusty loaf mist the inside of your oven with water, I use a plant sprayer to do this, skip this step if you prefer a chewy crust. Near the end of the cooking time take your loaves out of their tins, and cook upside down to brown the base and crusts
9. Your bread is done when it sounds hollow when the base is tapped. Allow to cool on a wire rack - resist the temptation to tuck in straight away, your bread needs to calm down slightly - but don't worry, it will stay warm and delicious for quite a while

they look superb! Just heated up a nice ciabatta with mozarella but want to trade now...
ReplyDeleteLex
x